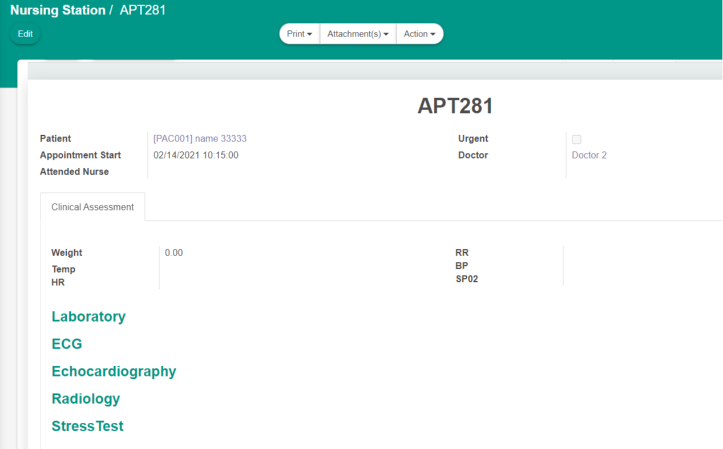
Nursing Station
In the Hcare module, under the Appointments section there is a sub section named “Nursing station” for the nurses to record vital examination results of a patient. This can be done by simply following the steps below:
-
Select “Appointments” from Hcare.
-
Select “Nursing Station”.
Note: Any checked in patient will be visible in the list.
-
Select the patient that you need to check the vital signs of.
-
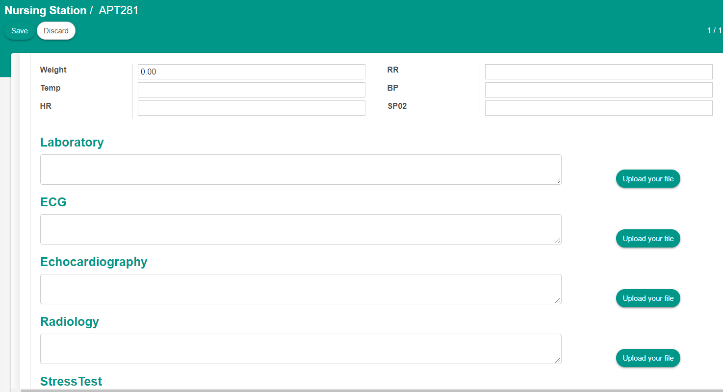
Click on edit and update the required records.
Creating a patient file
As mentioned previously, when a patient status from the appointment scheduler changes to “check in” status. A file is automatically created. There is also another way to create patient files from the Hcare menu.
Steps:
-
Select “HCare” menu.
-
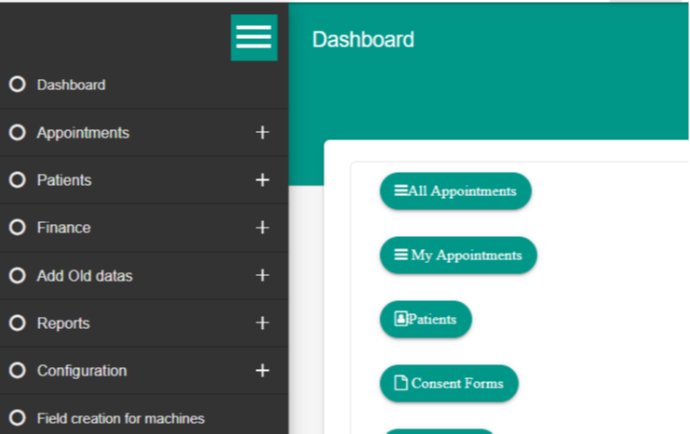
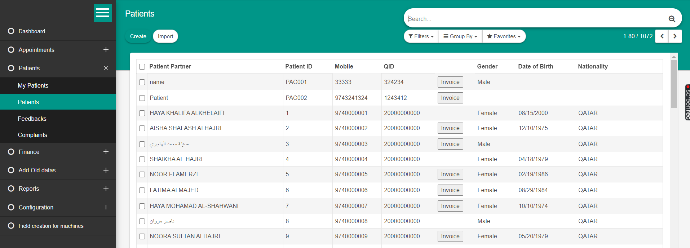
Click on “Patients'' menu from the left most vertical navigation . See picture below.
-
Click on the “Patients” sub menu.
-
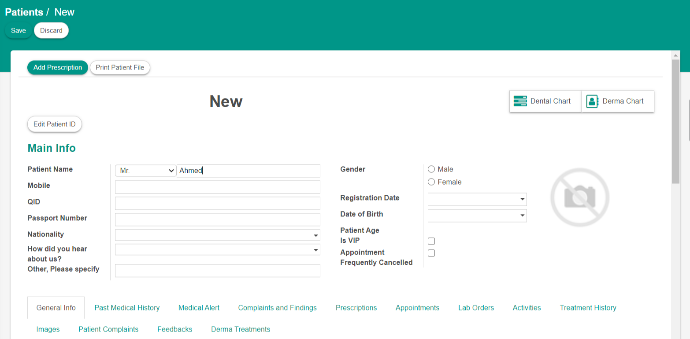
Click on the “Create” button to create a new patient. Then the below screen will appear.
-
Fill on the necessary details.
-
Then click on the “Save” button.
The patient file will then be created with a new file number given to it. And you can find it in the patient and modify it as needed.
Configurations
Creating Treatments.
In this software there are two ways to record treatment lists. One is by importing the whole list from an excel sheet. The other is creating them manually. To create a treatment following steps are to be followed:
Steps:
-
Click on the “Hcare” module.
-
Click on the “configuration” menu.
-
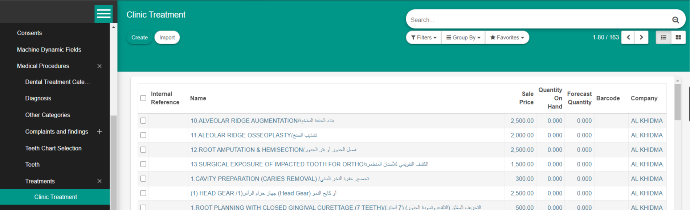
Click on “Medical Procedures”.

-
Then click on “Treatments”.
-
From here select the category the treatment falls into.
-
From here select the category the treatment falls into.
Provide the necessary details.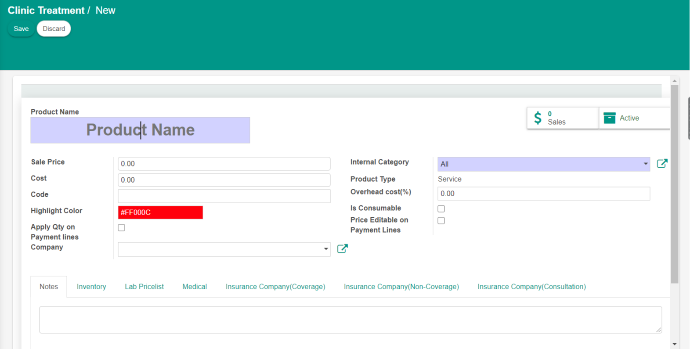
-
Then click on the “save” button.
Setting up Insurance details
There are two sections where you need to use the insurance details.
-
Configuring the insurance companies:
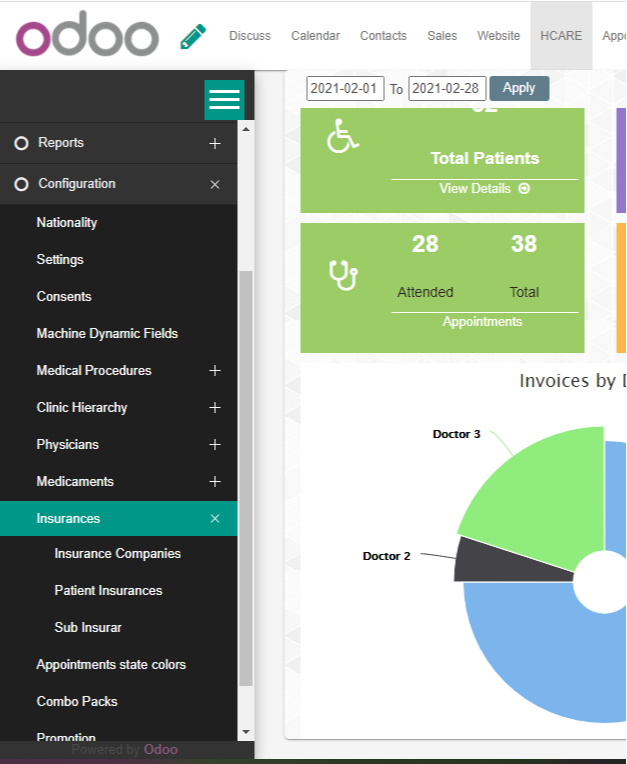
Select Hcare module from the menu bar and then click on the configurations that appear on a list on the leftmost side of the screen (see picture on the right).
From the picture you can find below sub sections:
◦ Insurance Companies: Displays the list of insurance companies and the option to create/import a new one.
◦ Patient Insurance: Displays the list of patients having insurance.
◦ Sub Insurer: If any.
-
Providing insurance details while creating patient appointments.
Creating or adding an insurance company.
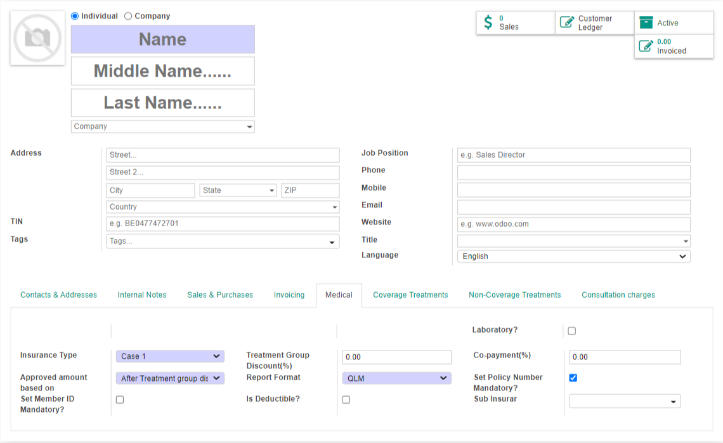
To add a new insurance company first of all you need to select insurance companies from the list then click on create. A new form will open (see picture). Fill up the necessary details in the form.
Please note the below:
• You must fill up all the blue colored fields.
• Provide Contacts & Address details.
• Provide Medical details: Insurance type, co-payment discounts, deductibles and sub insurar (if any).
• Coverage Treatments: Mention the treatments that are covered by the insurance.
• Non-coverage treatments: Mention the treatments that are specifically not covered by the Insurance.
• Consultation charges: Specify any consultation charges that are covered by insurance.
Once all the details are provided, click save and exit. A new insurance company will be added to the list.
You can also click on discard in case you don’t want to add or create a new Insurance company.